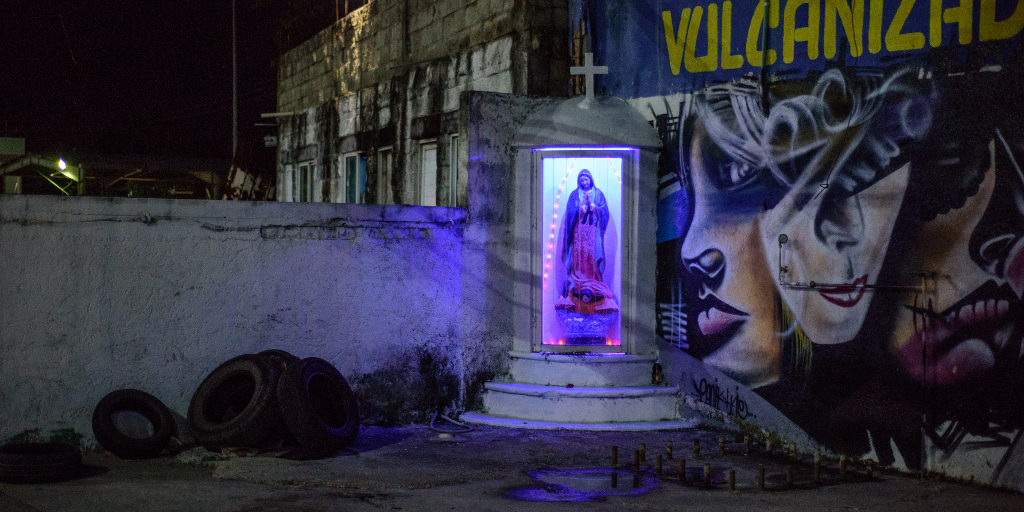
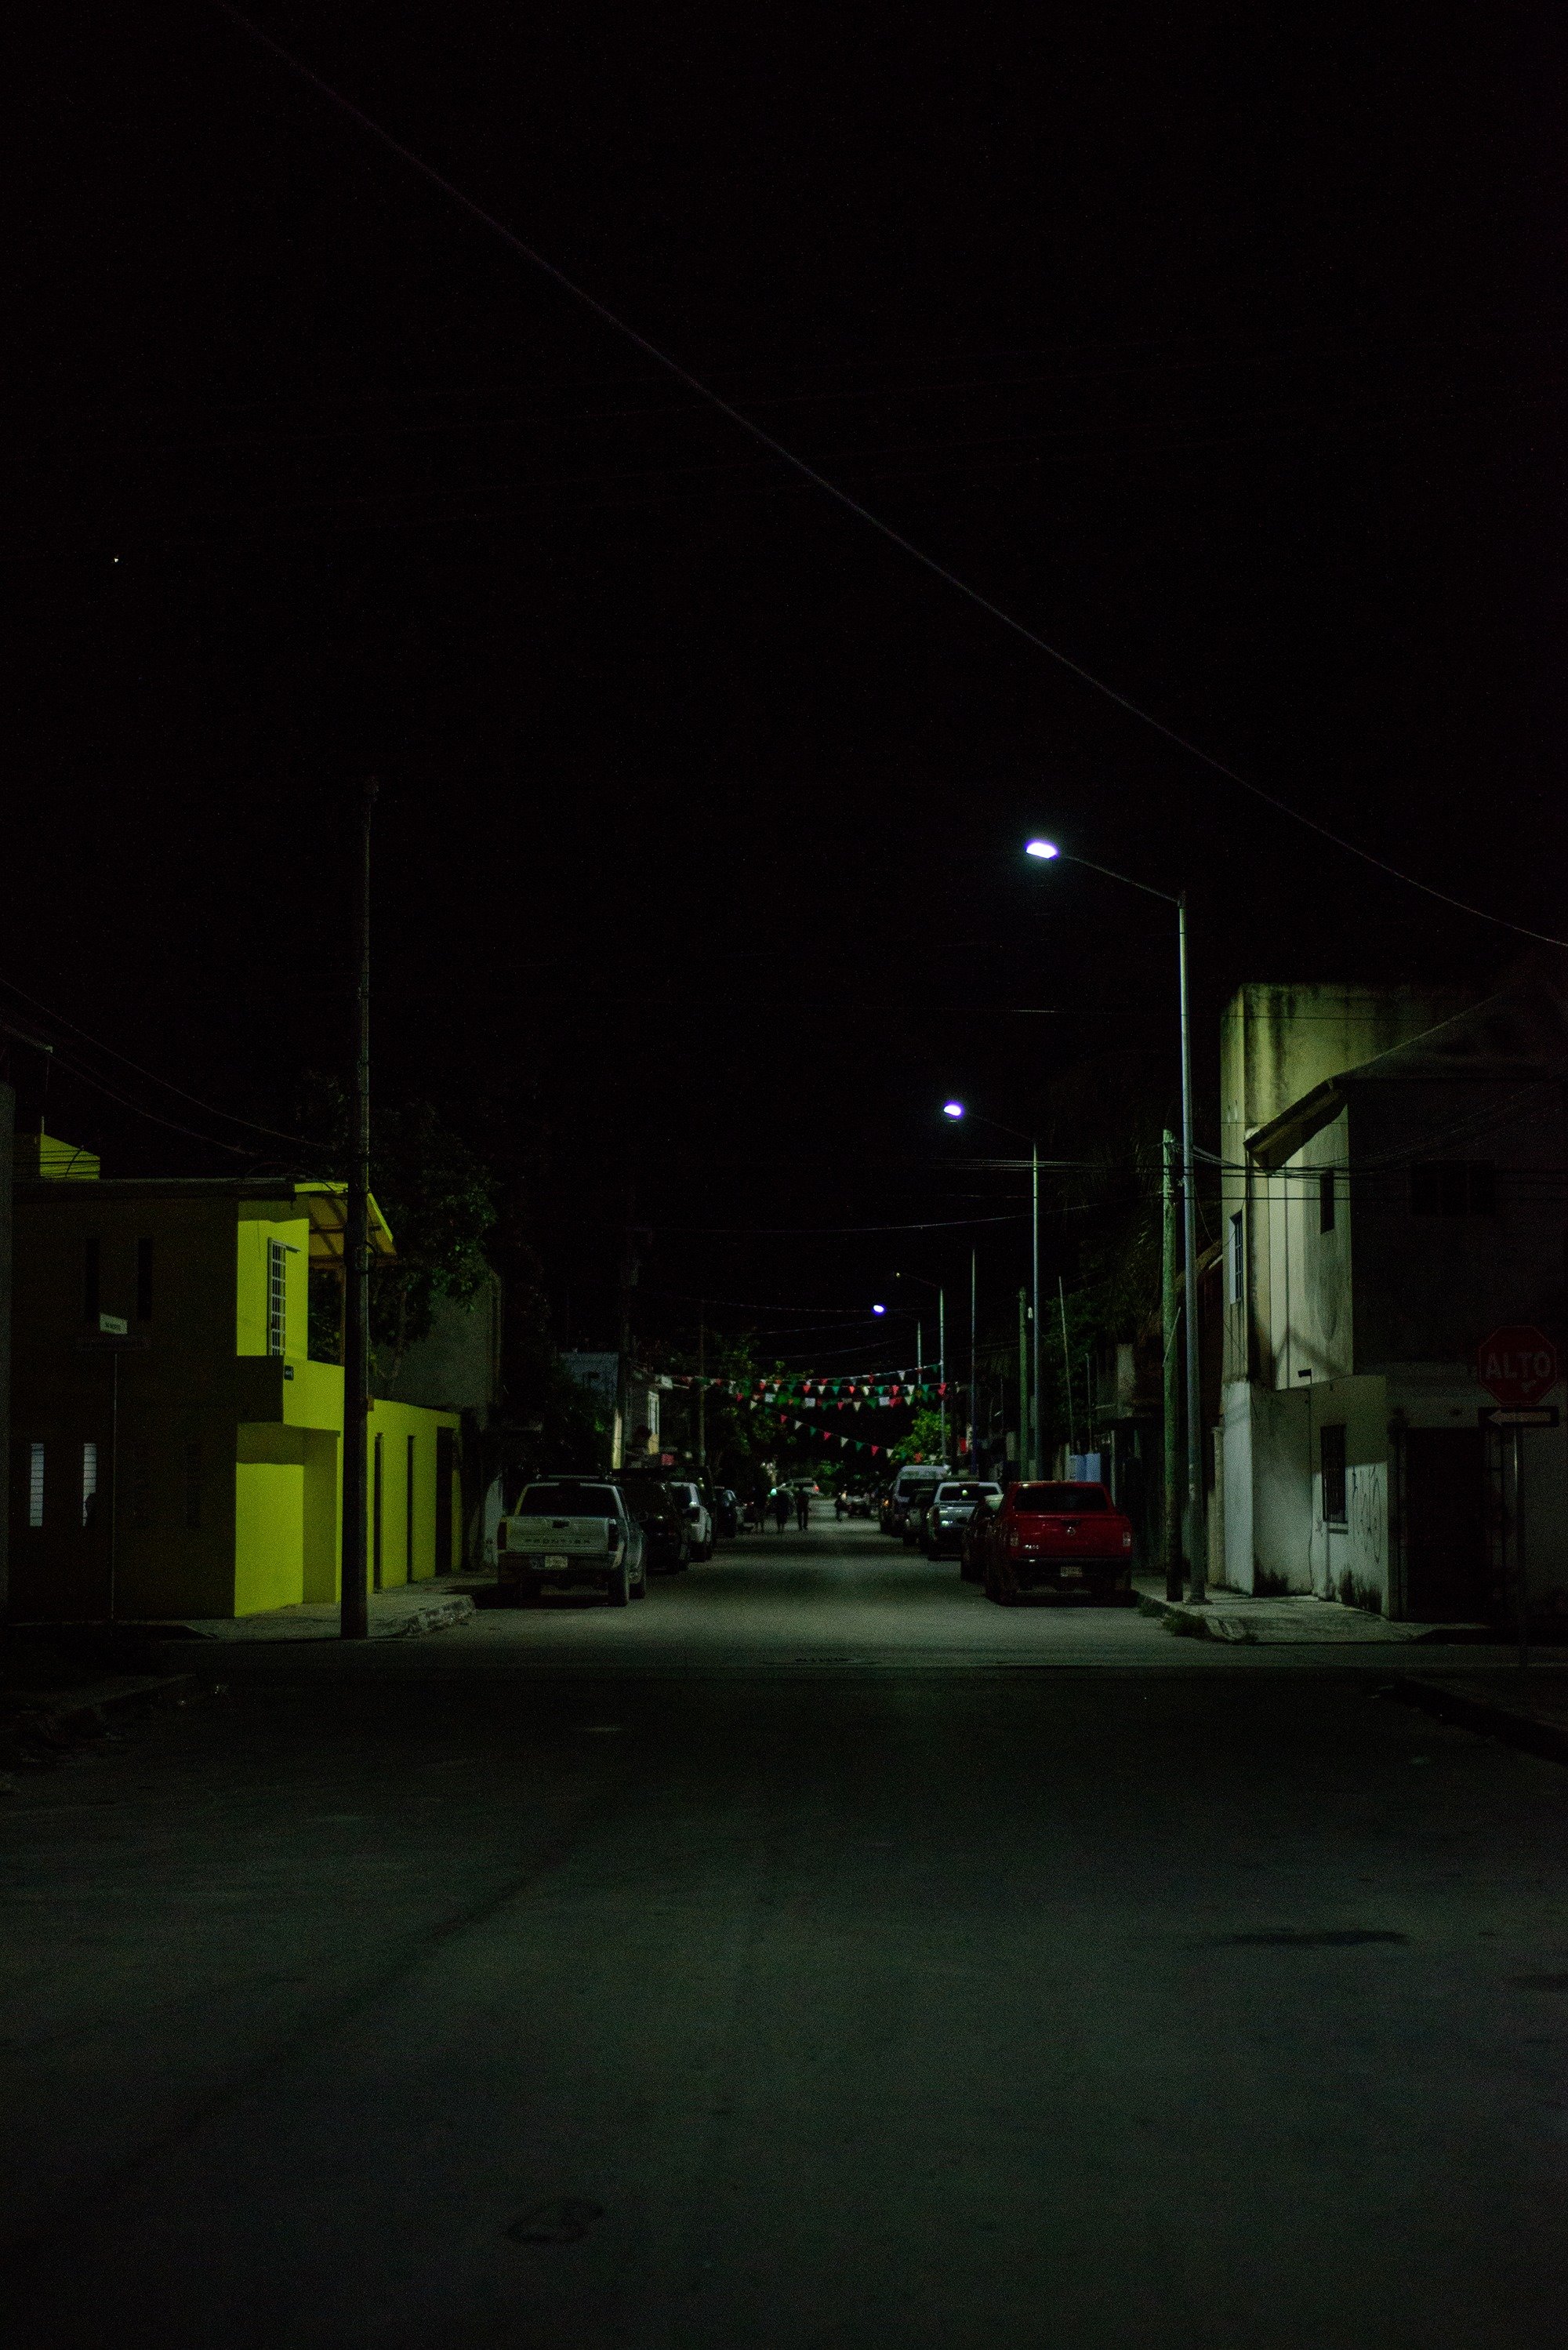
As many of you know, light is the single most important element in photography. After all, without light, there is nothing to capture other than a black frame. Hence, we can dare say this: nine times out of ten, the darker the environment (i.e.absence of light– natural or artificial) the trickier it will be to register the moment in the way you envision. Especially, when photographing night scenes.
Albeit every photographer, beginner or pro, is interested in different subjects, techniques, and “styles” of shooting, we are all united by the mere fact that, sooner or later, we are forced to adapt to the light conditions of a given situation. This need for adaptation becomes ever so evident when shooting indoors, events, or night scenes.
When considering the latter, how happy you are with your shot may depend more on your attitude and the way you prepare yourself than the actual amount of light available. After all, wherever you may be, there is probably some light source available (lamps, moonlight, stars, headlights, candle, torch, etc) – all you have to do is keep an eye out for it.
1. Use the (underestimated) camera level
If you have ever tried taking pictures at night, you might have noticed how much more difficult it can be to keep your pictures leveled. Unless you are shooting on a well-lighted environment (such as a shopping street) where you can use fixed objects to help you frame an even shot, you will most likely struggle to find a reference for leveling your composition.
In this situation, it helps to use your camera’s built-in level (or, if your camera doesn’t have one, a tripod bubble level) in order to keep things straight. Yes, you can correct this in post-production. However, if you wish to master photography it helps to understand your camera’s limitations and your own grasp of technique rather than clicking away and performing a “plastic surgery” afterward.
2. Look for convenient tripods
Night shots usually require long exposure times and although a tripod is almost indispensable, they can be quite a pain. In fact, most models are large and heavy, take up space, and often cannot be carried as cabin luggage on air travel.
If you are involved in commercial photography, aim to shoot stars or the aurora borealis, or place yourself in a very windy environment and opt for a proper sturdy tripod. Otherwise, smaller tripods with flexible legs (like the Gorillapod) will do the job just fine.
Still, it is possible that when pressing the shutter button you might move the camera enough to create a blurry image. In this case, adjust the camera timer or use remote shutter (many cameras nowadays can be triggered via an app) to take the shot.
3. Pray for rainy night scenes
We can easily pinpoint many practical reasons why shooting in rainy conditions is not the most friendly (or easiest) approach – neither for your equipment nor for your health. But what many of us tend to overlook is the potential of that moment right after the rain has stopped, when the air is fresh and every object seems to gain a new, enlivened character.
Have you ever noticed that in various film’s night scenes, especially those shot in cityscapes, the sidewalks are wet? One of the reasons for that – aside from likely being part of the plot – is that the water reflects light, so the “wetness” left by the rain allows for brighter and more vivid images.
So, the next time it rains, grab your raincoat a waterproof case and get out there to take a picture! You’ll enjoy it so much more than flicking through Instagram on your couch.
4. Try out small apertures
Although there is a vast range of theories and techniques in photography, there are no strict rules per se, and to become a great photographer you should (and must!) experiment all the time.
As we mentioned earlier, one of the trickiest parts of photographing night scenes is the lack of light when compared to daytime scenes. Because of that, you are often tempted to combine relatively long exposure times (depending on how much light there is and the subject in focus) with wide apertures (f1.8, f2.0, f2.8) in order to let more light in – especially if you haven’t got a tripod at your disposal.
Still, the wider the aperture you choose the shorter the exposure time you will need – as a means to compensate the amount of incoming light with the duration it hits the sensor (which is done by setting a faster shutter speed) –, otherwise your image will end up far too bright.
As an experiment, try flipping things around: choose a small aperture (f.22, for example) and adjust the shutter speed for an even longer exposure, then get ready to record interesting movements. Alternatively, the smaller aperture also makes the specks of light to resemble stars. This may seem like a redundant detail, but in a mostly dark photo, this makes quite a difference.
5. Safety settings
Although each situation is unique and will require a particular setting to make it work the way you want it to, a few technical tips can’t hurt.
- For optimal focus: Try not to rely on automatic focus in this case. Instead, use the camera’s LiveView (LCD screen) and zoom in to focus manually, bearing in mind that it is easier to achieve sharpness when focusing on lit-up areas.
- For noise reduction: Truth be told, many people actually enjoy a bit of noise in their photos. However, if you are not one of them, try to refrain from using high ISO and consider longer exposures instead. Alternatively, choose the wider aperture available in your camera.
- For “non-dark” images: The process of measuring the light intensity of a night scene is different from a daytime scene and your camera’s light meter will not reset accordingly. Again, even though circumstances are always different, it is worth remembering that your camera’s photometer is likely to register a point or two on the negative side when shooting at night.
- For “un-shaky” shots: This is directly related to how much light touches the sensor – which in the case of night photography means pressing the shutter longer. Since the likelihood of you holding the camera steadily for 2 seconds (let alone 30-second exposures) is slim to none, it is best to look for a solid surface, like a bench or a wall, where you can adjust the settings properly.

Finally, the idea of capturing night scenes goes beyond developing your photographic skills; it allows you to experience places from a different angle and perhaps discover things that you otherwise wouldn’t if you were playing it safe and shooting when there is a lot of light.